Did you go and see Eclipse in the cinema this summer, Dear Internet? Is Eclipse even your thing? Oh Internet, I know so little about you! *fans self with a lace handkerchief*
I don’t want to get into a debate about the merits (pah), lols (many) and brainaches (no comment) of the Twilol saga and its films. I will say that I am a writer, and yes, I do know that they are terribly written garbage books. But I will also tell you that I did read all the books, to the end, and I quite liked, for the most part, and at the very least, the first one. And I do like the films on the whole, because they are easy to make drinking games to and are generally full of giggles and abdominal muscles and I am weak, dear Internet, weak! I’m so sorry to let you down. Will some recipes and anecdotes cheer you up, my sweet, my love, my dearest darling?
My cousin got us tickets to the Eclipse midnight preview showings in Rochester. I was terribly excited to be going/getting out of the house/having a social life/abs, dear Internet, abs. My end of the bargain was to bake us some sugary treats for the film. My cousin was excited, being quite a fan of my oatmeal cookies (which I will share with you in due course), but she didn’t know whether to be thrilled or disappointed when I told her I was going to do something else.
I essentially made sugar cookies, though one recipe was not what you would really call a sugar cookie. I have to confess to finding sugar cookies a bit dull. I think I need to roll them thinner so I get more icing. I have a very sweet tooth, as I am sure I have mentioned. Overall, really, I’d rather have a lebkuchen underneath that frosting. Hmm. That’s an idea. I do make good lebkuchen, after all. But anyway, plain white biscuits… they were tasty, but I can think of more delicious things, though this was the best they‘ve tasted to me thus far. They also, to me, are a bit too dry… Convince me otherwise, great Internet! Perhaps I need to fiddle with the recipe, particularly the flour content.. *plots merrily*
For the first half of the recipe, I made regular sugar cookies with homemade royal icing. I have NEVER royal iced a cookie before. I’ve used tube icing from a shop, but never my own piping bags, never my own icing, and never in the trendy way all the cool bakers are doing it. So whilst they came out as typically rustic and unpolished as my usual work, I was very proud of them. There were a couple of designs I loved in particular, which I will share below.
Royal Iced Sugar Cookies
Sugar Cookies:
175g unsalted butter, softened/room temperature
230g golden caster sugar
2 eggs
575g plain flour
1 tsp baking powder
1 tsp vanilla extract
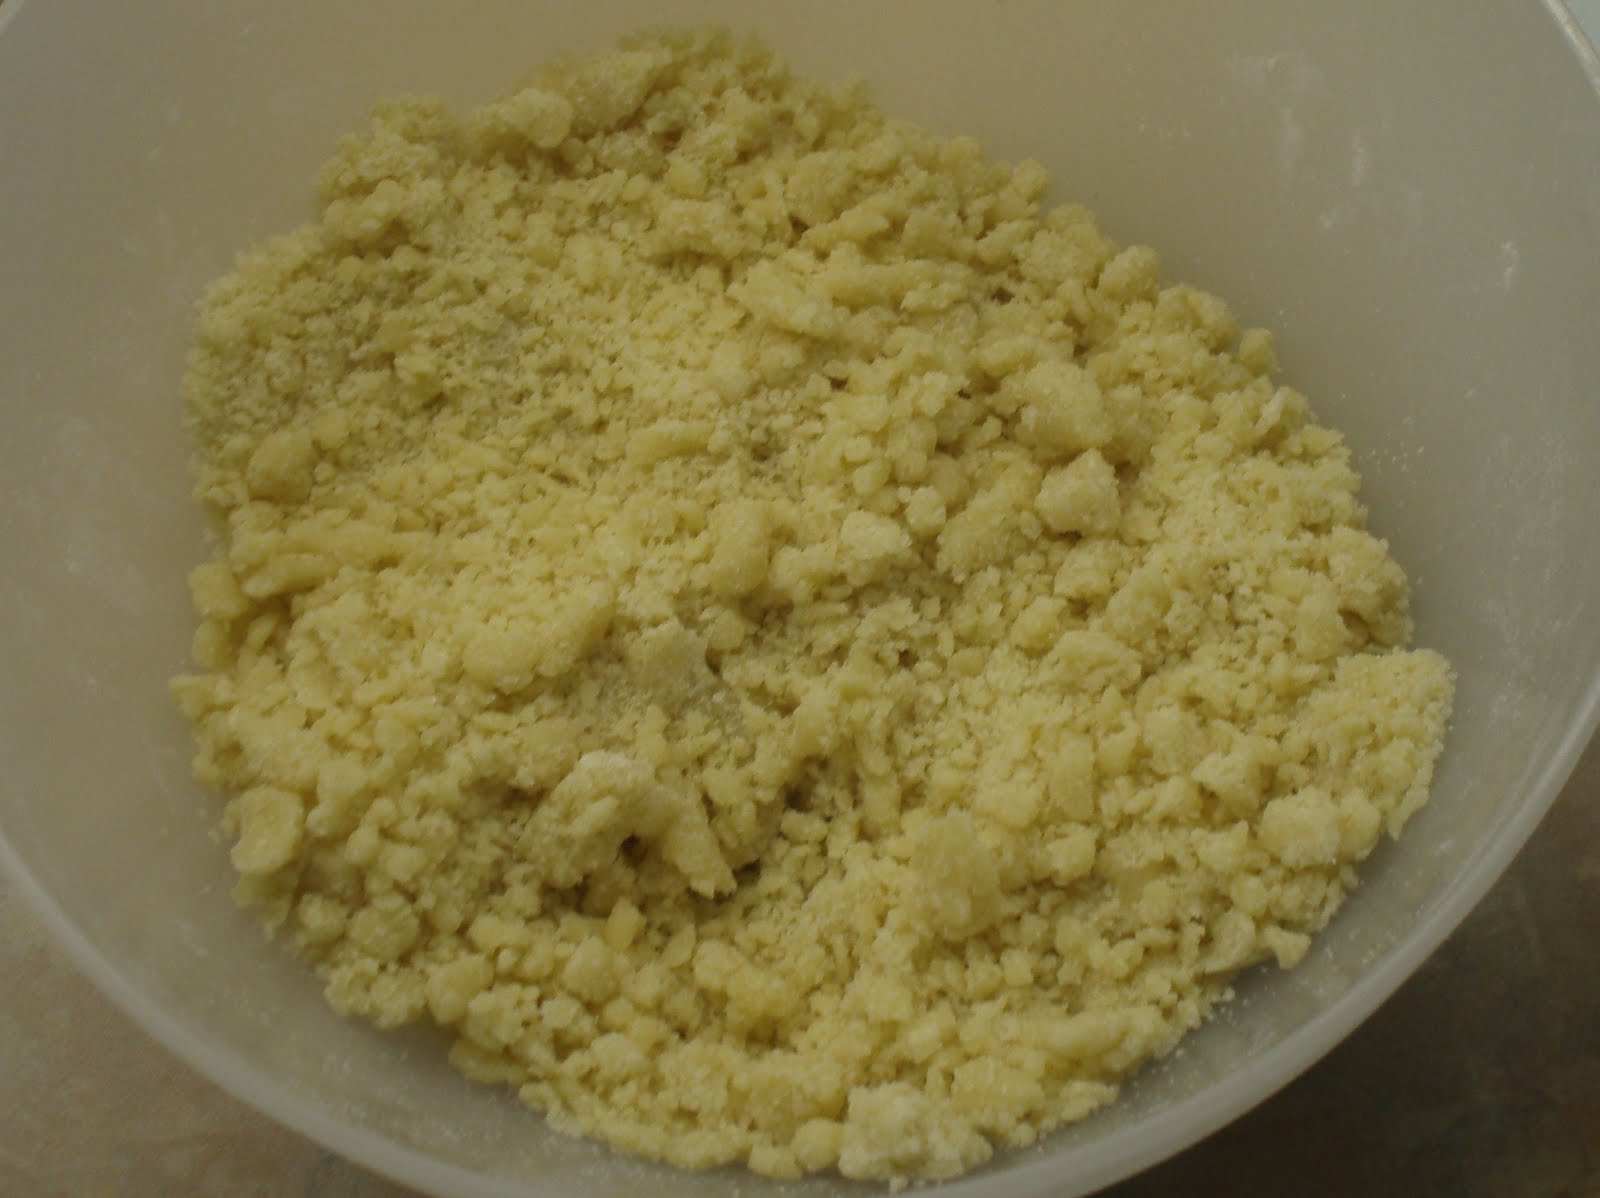
In your processor/mixer, or by hand, cream the butter and sugar until smooth. Beat in the eggs and vanilla.
Combine the wet ingredients with the dry until an even pale dough is formed. Chill for at least one hour.
Preheat oven to 170/160. Roll out the dough to approx 1/4 inch thickness, and cut out the desired shapes. Bake for 6-8 minutes for a medium sized cookie. You will need to adjust the time (and possibly heat) if your cookies are smaller or larger, or thicker.

I've adjusted the cook times from what I did; as you see mine were a little overdone!
Royal Icing:
2 Free range eggwhites
1tsp lemon juice
approx 600g Icing sugar
While the cookies are cooling, you can make your icing. Bear in mind that royal icing needs about 12-24 hours to set well, though we ate our cookies after about 6 hours. A crust had formed, but the icing was liquid underneath. The icing will preserve the cookie, so it won't go stale under that icing if you leave it out on a cooling rack to set overnight.
Put your eggwhites and lemon juice in your processor/mixer with a whisk attachment. You can do this manually, but you will need to patiently sift your icing sugar every time you add some, and be prepared to work those arms!
Add some of the icing sugar (about 50-100g) and start the motor. Add icing sugar as you go, until you have stiff peaks. Depending on your eggwhites, this might be less or more than the icing sugar allowed.
This stiff icing is perfect for outlining. For the flood icing, you will need to add a little water, drop by drop, back to the mixture and keep whisking until you have a sticky liquid that flows back steadily when you pass a spoon through it. For a coloured icing, if, like me, you only have liquid colour, don't use water, and use the food colouring to provide the liquid instead. If you have the gel food colourings (which are wonderful and are on my christmas list) you will just need a couple of drops for vivid colour, so will need to add a little water as per the above method.

Outlined cookies. I need more practise and a narrower pipe nozzle!
To ice your cookies, first outline them with the stiff icing. This will mean that the runnier flood icing will not just run over the sides willy nilly. Leave your lines to dry for a few minutes so you don't damage them by mistake while flooding.
Next, flood the cookies with your runny flood icing. Fill the cookies up well to give them a good finish.
With regards to how I decorated them, you can just drop the other colour of flood icing onto the other to make dots, fang marks (I liked these sooo much), paw prints, spider webs or... Toothless! Anything, really. It will melt into the others to give a smooth finish. Light colours on top of dark are less likely to bleed, but none of mine bled that badly anyway.
 Aren't they totally ugly? For serious! But I had so much fun making them!
These people are far more experienced, talented and worldly in the art of royal icing sugar cookies. Between them and many, many others, I worked out how to make royal icing.
http://www.universityofcookie.com
http://iammommy.typepad.com/i_am_baker/
http://chiccookiekits.blogspot.com/
http://sweetopia.net/2009/06/cookie-decorating-tutorial-general-tips-butterfly-cookies/
My second recipe was based on something I had seen on the internet (though I can‘t remember where), tried, failed horribly at, and had never touched again. It was the first time I had tried a ‘cup’ measured recipe, and I haven’t bothered since. I think I would need a course in American baking before I would put myself through the humiliation again. If someone knows a cup calculator that is trust worthy, go ahead and forward to me, but I’ve had my fingers burned, and I haven’t forgotten.
These are ‘Vampire Bites’. They are glam jammy dodgers underneath their gory exterior. They were almost too much fun to make, and inspired some of my icing on the royal iced cookies. If I did it again, I would be tempted to try shortbread for the cookie mix. I’m sure I will regale you with that when the DVD comes out…
Vampire Bites
Sugar cookies as above.
Red jam (Strawberry or raspberry)
Cut out an equal number of cookies.
Place half the cookies on a parchment lined baking sheet. Place about 1/2 heaped teaspoon of jam in the middle.
Place a second cookie on top of the jammed one and gentle press around the outside, joining them and making a sealed pocket of jam inside.

Next, take a toothpick, and gently poke in your teeth marks, gently swivelling to widen the fang holes.
Finally, dip your toothpick in the jam, and make dribbles of gore down from the bite marks. Tasty!
Bake as with the regular sugar cookies.

Aren't they cute! Great for any vampire themed event, or Hallowe'en! And super tasty! The jammy cookies were so yummy. A perfect compliment to chiselled abs and teenage angst at midnight. And this is definately true: Sugar highs improve Twilight no end.
Adieu, Dear Internet. Until next time!

 Spray the inside of a large plastic freezer bag with oil. Frylight is fine for this. Alternatively rub with some oil with your hands. Place the dough in the bag, squeeze out the air as best you can and twist to secure it. Chill in the fridge for as long as you are going to.


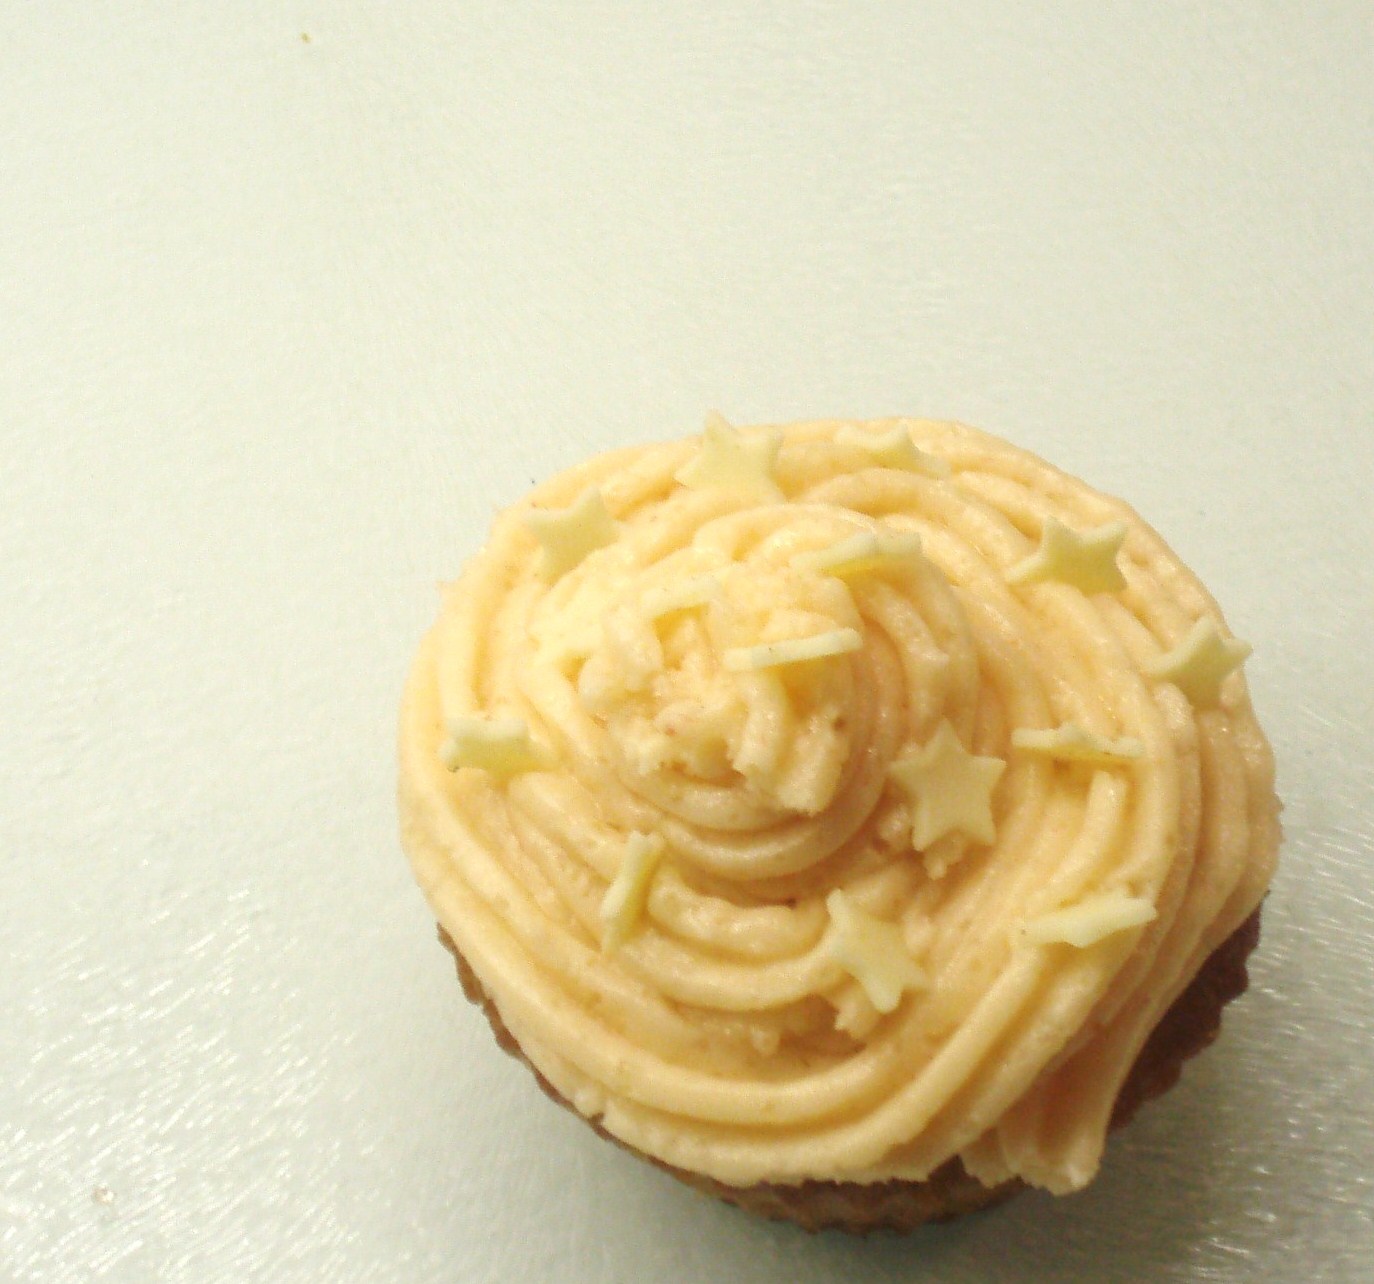
 Bake for 15-20 mins. In my oven on 160-170, they took 18.
 These cupcakes did not impress me one bit to begin with. There was something about the flavour combo that just didn’t work for me. It was only after the cake was aged for a day or two that I really began to appreciate the smoky chocolate and indulgent fruitiness of these cakes. I’m still not 100% convinced by the ganache/cake combo, since the ganache packs a real hefty wallop against the most subtle flavour of the cake. The ganache is incredible on its own if you use the right chocolate, and makes very good truffles in its own right. However, flavours aside, the cake is very light, fluffy and moist, and flavours more subtle. I think if I make these again I’ll just chocolate/royal ice them, and stick a foam banana on top! How wonderfully gaudy! Squee!

 They are a type of plum, also known as a Golden Plum. You can sometimes find them in supermarkets for an absolute fortune. Of course, those are cultivated, and much larger than the little wild ones… however, we did pick about 4lb worth, so that made up for it!